Getting Started - Client Configuration
The Alienbrain Client
This article will help you get started with the Alienbrain Client, and includes the steps required to configure the client on first use.
Full documentation can be found in the user guide in the Alienbrain documentation folder.
It is assumed that you have already installed the Alienbrain server and client, and are ready to run the Alienbrain client.
Alienbrain Client Configuration
Launch the Alienbrain Client from the link on the desktop or from the Alienbrain folder in the Windows Start Menu. If it is the first time the Alienbrain Client has been launched, the configuration wizard will appear.
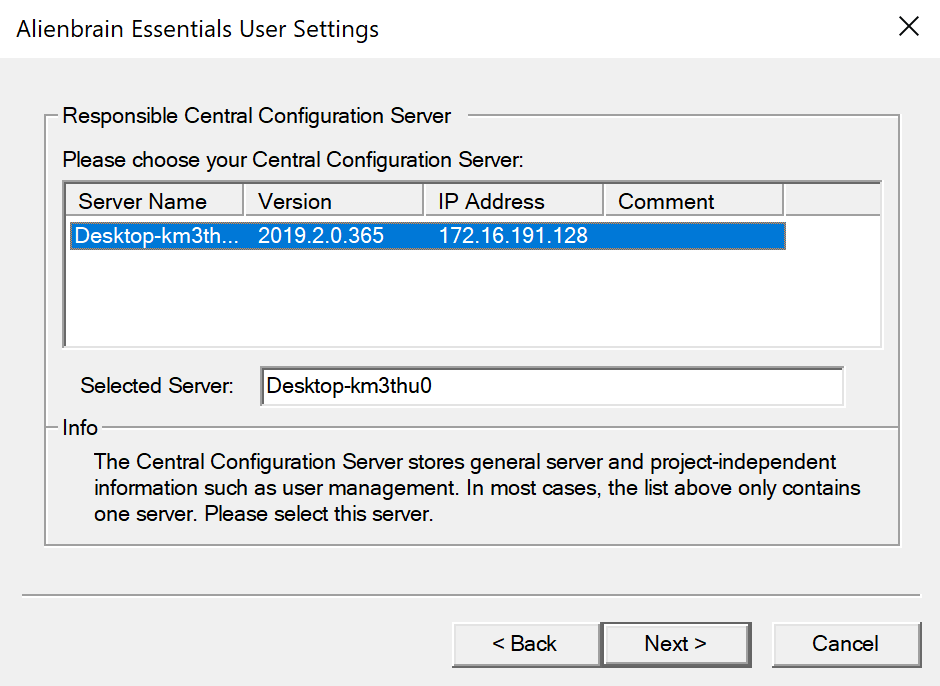
Select the Alienbrain server to connect to (there should only be one in the list for evaluations).
Define the default login information. This can be left as Administrator with a blank password for a quick evaluation. The administrator password can be updated, or additional users added, in the Alienbrain Admin tool (covered in the Alienbrain Admin section).
Next define your Working Folder, where your local files will be stored, or accept the default provided (C:\alienbrainWork).
Select drive mapping to enable teams to reference the same files without the inconsistency of local file paths. This will create a mapped drive (Z:\ by default) to the working folder set up in the previous step.
Change sets are generally only relevant to programmers, where changes made to groups of files are dependent on each other to compile. Artists can leave both of these options unticked. See the Alienbrain features page for more details.
The Alienbrain client will launch and request connection to a project database. Click Yes to access the Demo Project included in the evaluation.
If the default login details have not been changed in the Admin tool, click Yes to access the database. Note: in this case the password should be blank.
Connect to the project database by selecting the Demo_Project listed in Step 2 (Project_Name). The server name will already be selected.
Login to the Demo Project on the server using the default login information defined in the earlier stages of the configuration.
Alienbrain Client Browser
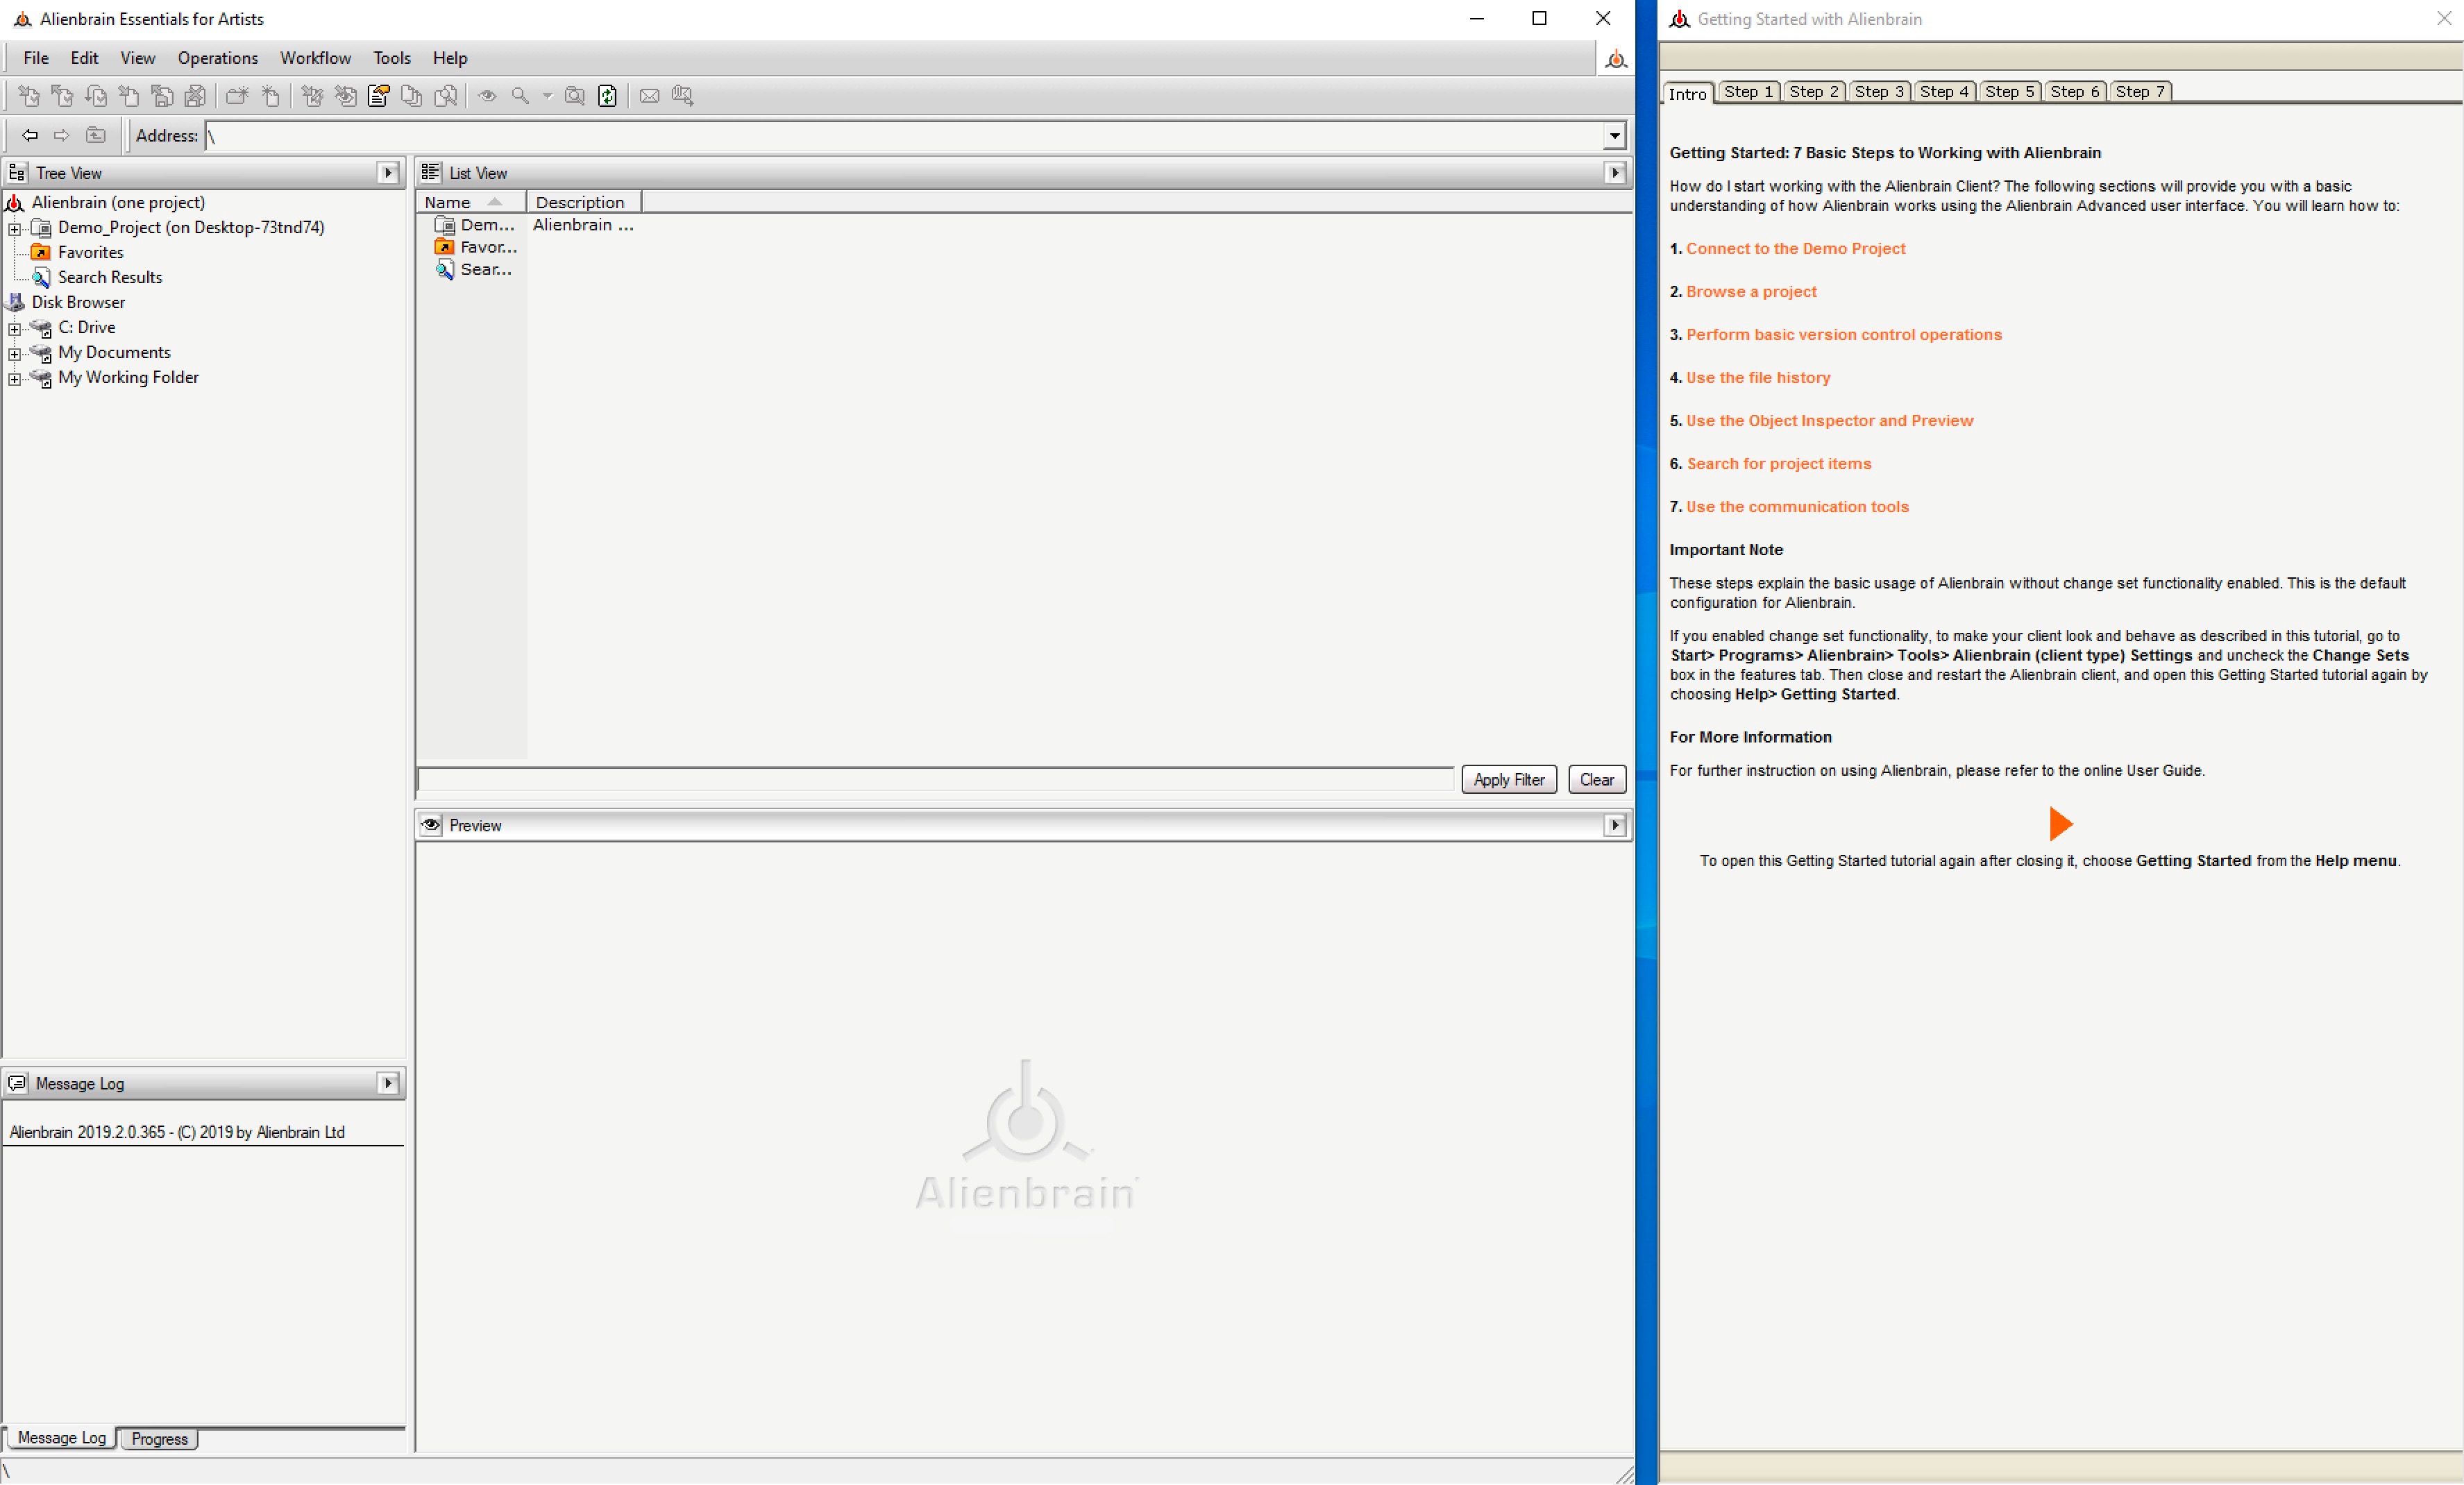
The Alienbrain Client Browser will be displayed listing the Demo Project Files, along with the Getting Started with
Alienbrain Guide. This guide is displayed on the initial execution of the Alienbrain client, and subsequently found in the help
menu. Follow these instructions if you wish to evaluate the client with the demo project. If you wish to add your own projects and users - follow the
steps in the Alienbrain Administration section first.
The first step of the guide describes how to connect to the demo project, though many of these steps have been covered in this article. If the files are grayed out, it means there are no local copies of the files on your machine. Right click on the project name and select "Get Latest Version" to get a local copy of the files.
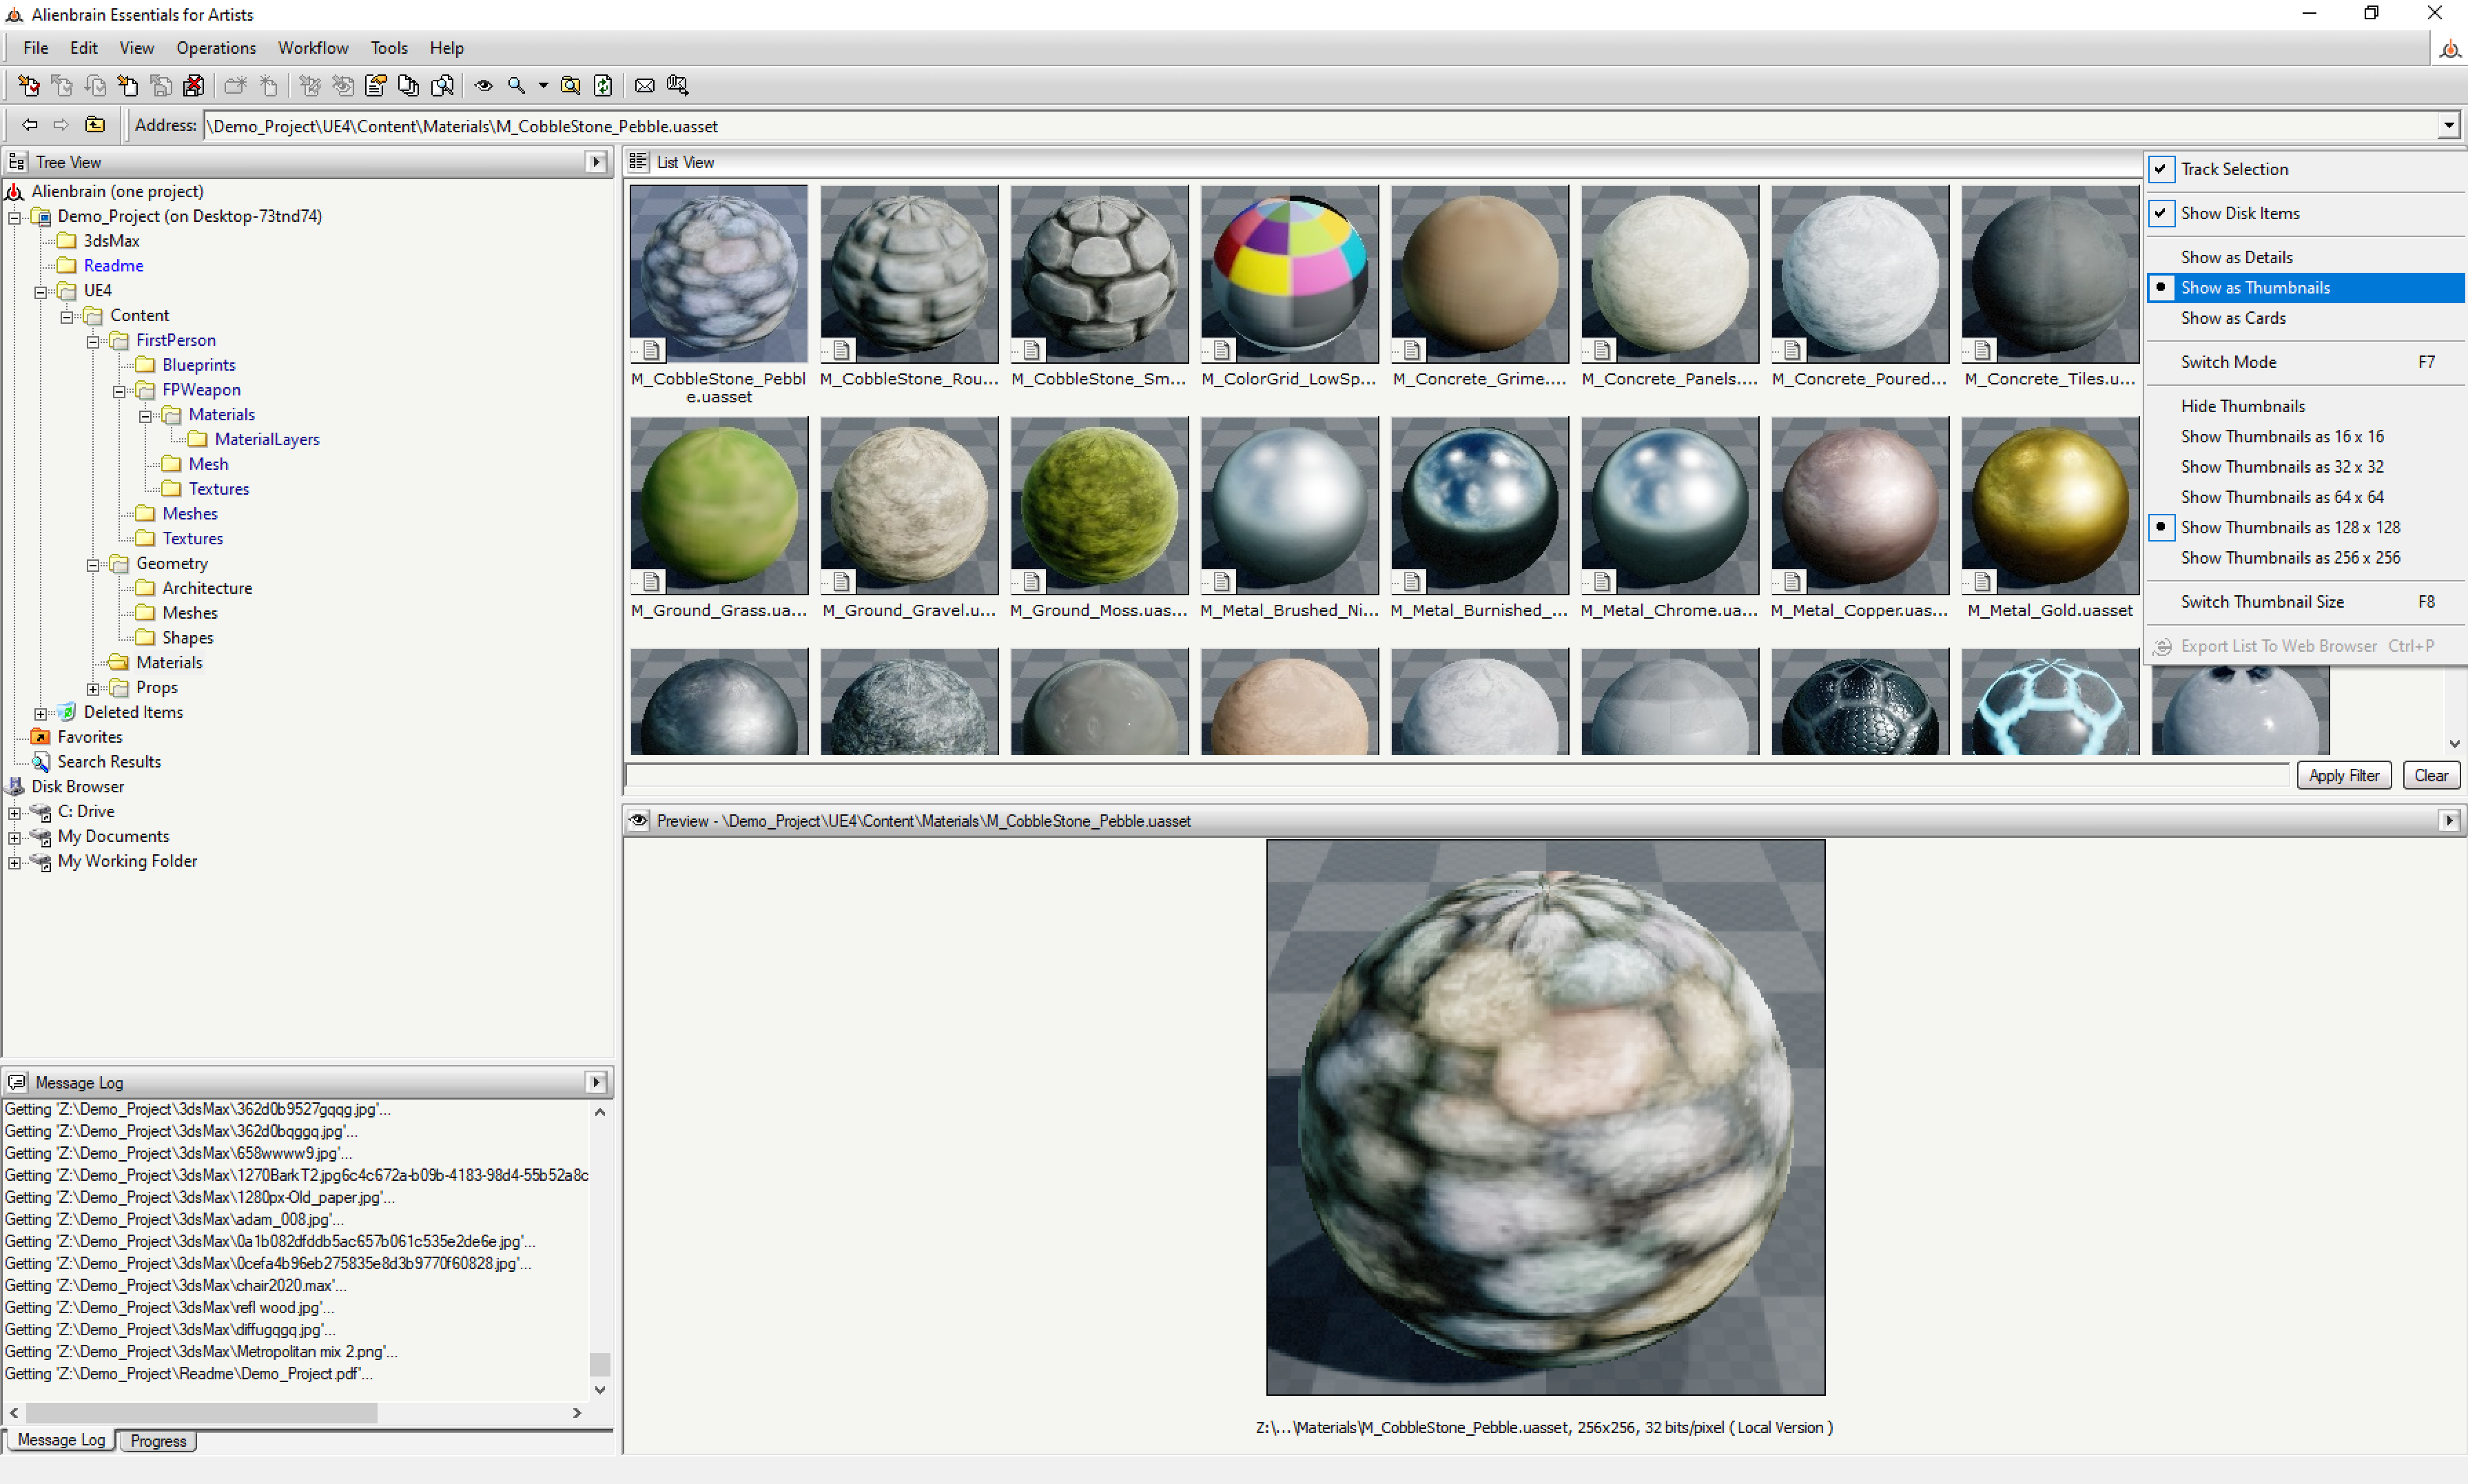
Files are listed in the top view and can be previewed in the pane below. Art files can also be displayed as thumbnails in the top pane by selecting the arrow on the top right of the pane and selecting "Show as Thumbnails" (covered in detail in Step 2 of the guide).
Follow the remaining steps of the guide to learn about the powerful features of Alienbrain:
Browsing Projects
Version control - checking files out, editing and checking in
Using file history and comparing versions
The object inspector and previews
Powerful searching
Communication Tools - Messaging and Annotations
Next:
Use the Administration tools to Manage Projects and Users:
ADMINISTRATIONInstall additional Alienbrain Clients on different machines:
CLIENT INSTALLATIONInstall the Alienbrain Integrations:
TOOL INTEGRATIONS


