
Getting Started - Tool Integrations
Alienbrain Tool Integrations
Alienbrain version control will work with all file types and can be used alongside any creation tool. There are, additionally,
specific tool integrations which allow you to access the powerful features of Alienbrain without leaving your application:
Autodesk 3ds Max
Autodesk Maya
Epic Unreal Engine
Adobe Photoshop
Microsoft Visual Studio
Tool Integration Installation
There are three ways to install the tool integrations:
During the initial installation of the Server and Client (with the Custom install option), or
During the installation of additional clients, or
After the initial installation by running the individual integration executables, found in the \\SERVER_NAME\ab_Inst\Integrations folder (where SERVER_NAME is the name of your Alienbrain server), or the Installation\Integrations folder of the Alienbrain download. This is the method described on this page.

Tool Integration installation executables
When running the integration executables, a pop up will ask if you want to allow this app to make changes on your device. In each case select "Yes".

Click "Yes"
Then follow the specific steps for each integration you need:
Alienbrain Installation for 3ds Max
Ensure Autodesk 3ds Max is installed on your client machine.
Run the alienbrainFor3dsMax.exe file in \\SERVER_NAME\ab_Inst\Integrations or the Installation\Integrations folder of the Alienbrain download. Click "Next", then accept the Automatic installation type.

Accept and Click "Next"

Click "Next"
Next select the Autodesk 3ds Max version. It will default to the latest version.

Click "Next"
Click "Next" to install Alienbrain for 3ds Max, and Finish to Exit the Installer.

Accept and Click "Finish"

Click "Next"
You can now run 3ds Max to explore the Alienbrain functionality within the tool. Alienbrain functionality within 3ds Max is discussed in the Integration for Autodesk 3ds Max section of the User Guide found in the Help Menu of the Alienbrain Client, or the Alienbrain Documentation folder in the Windows Start Menu.
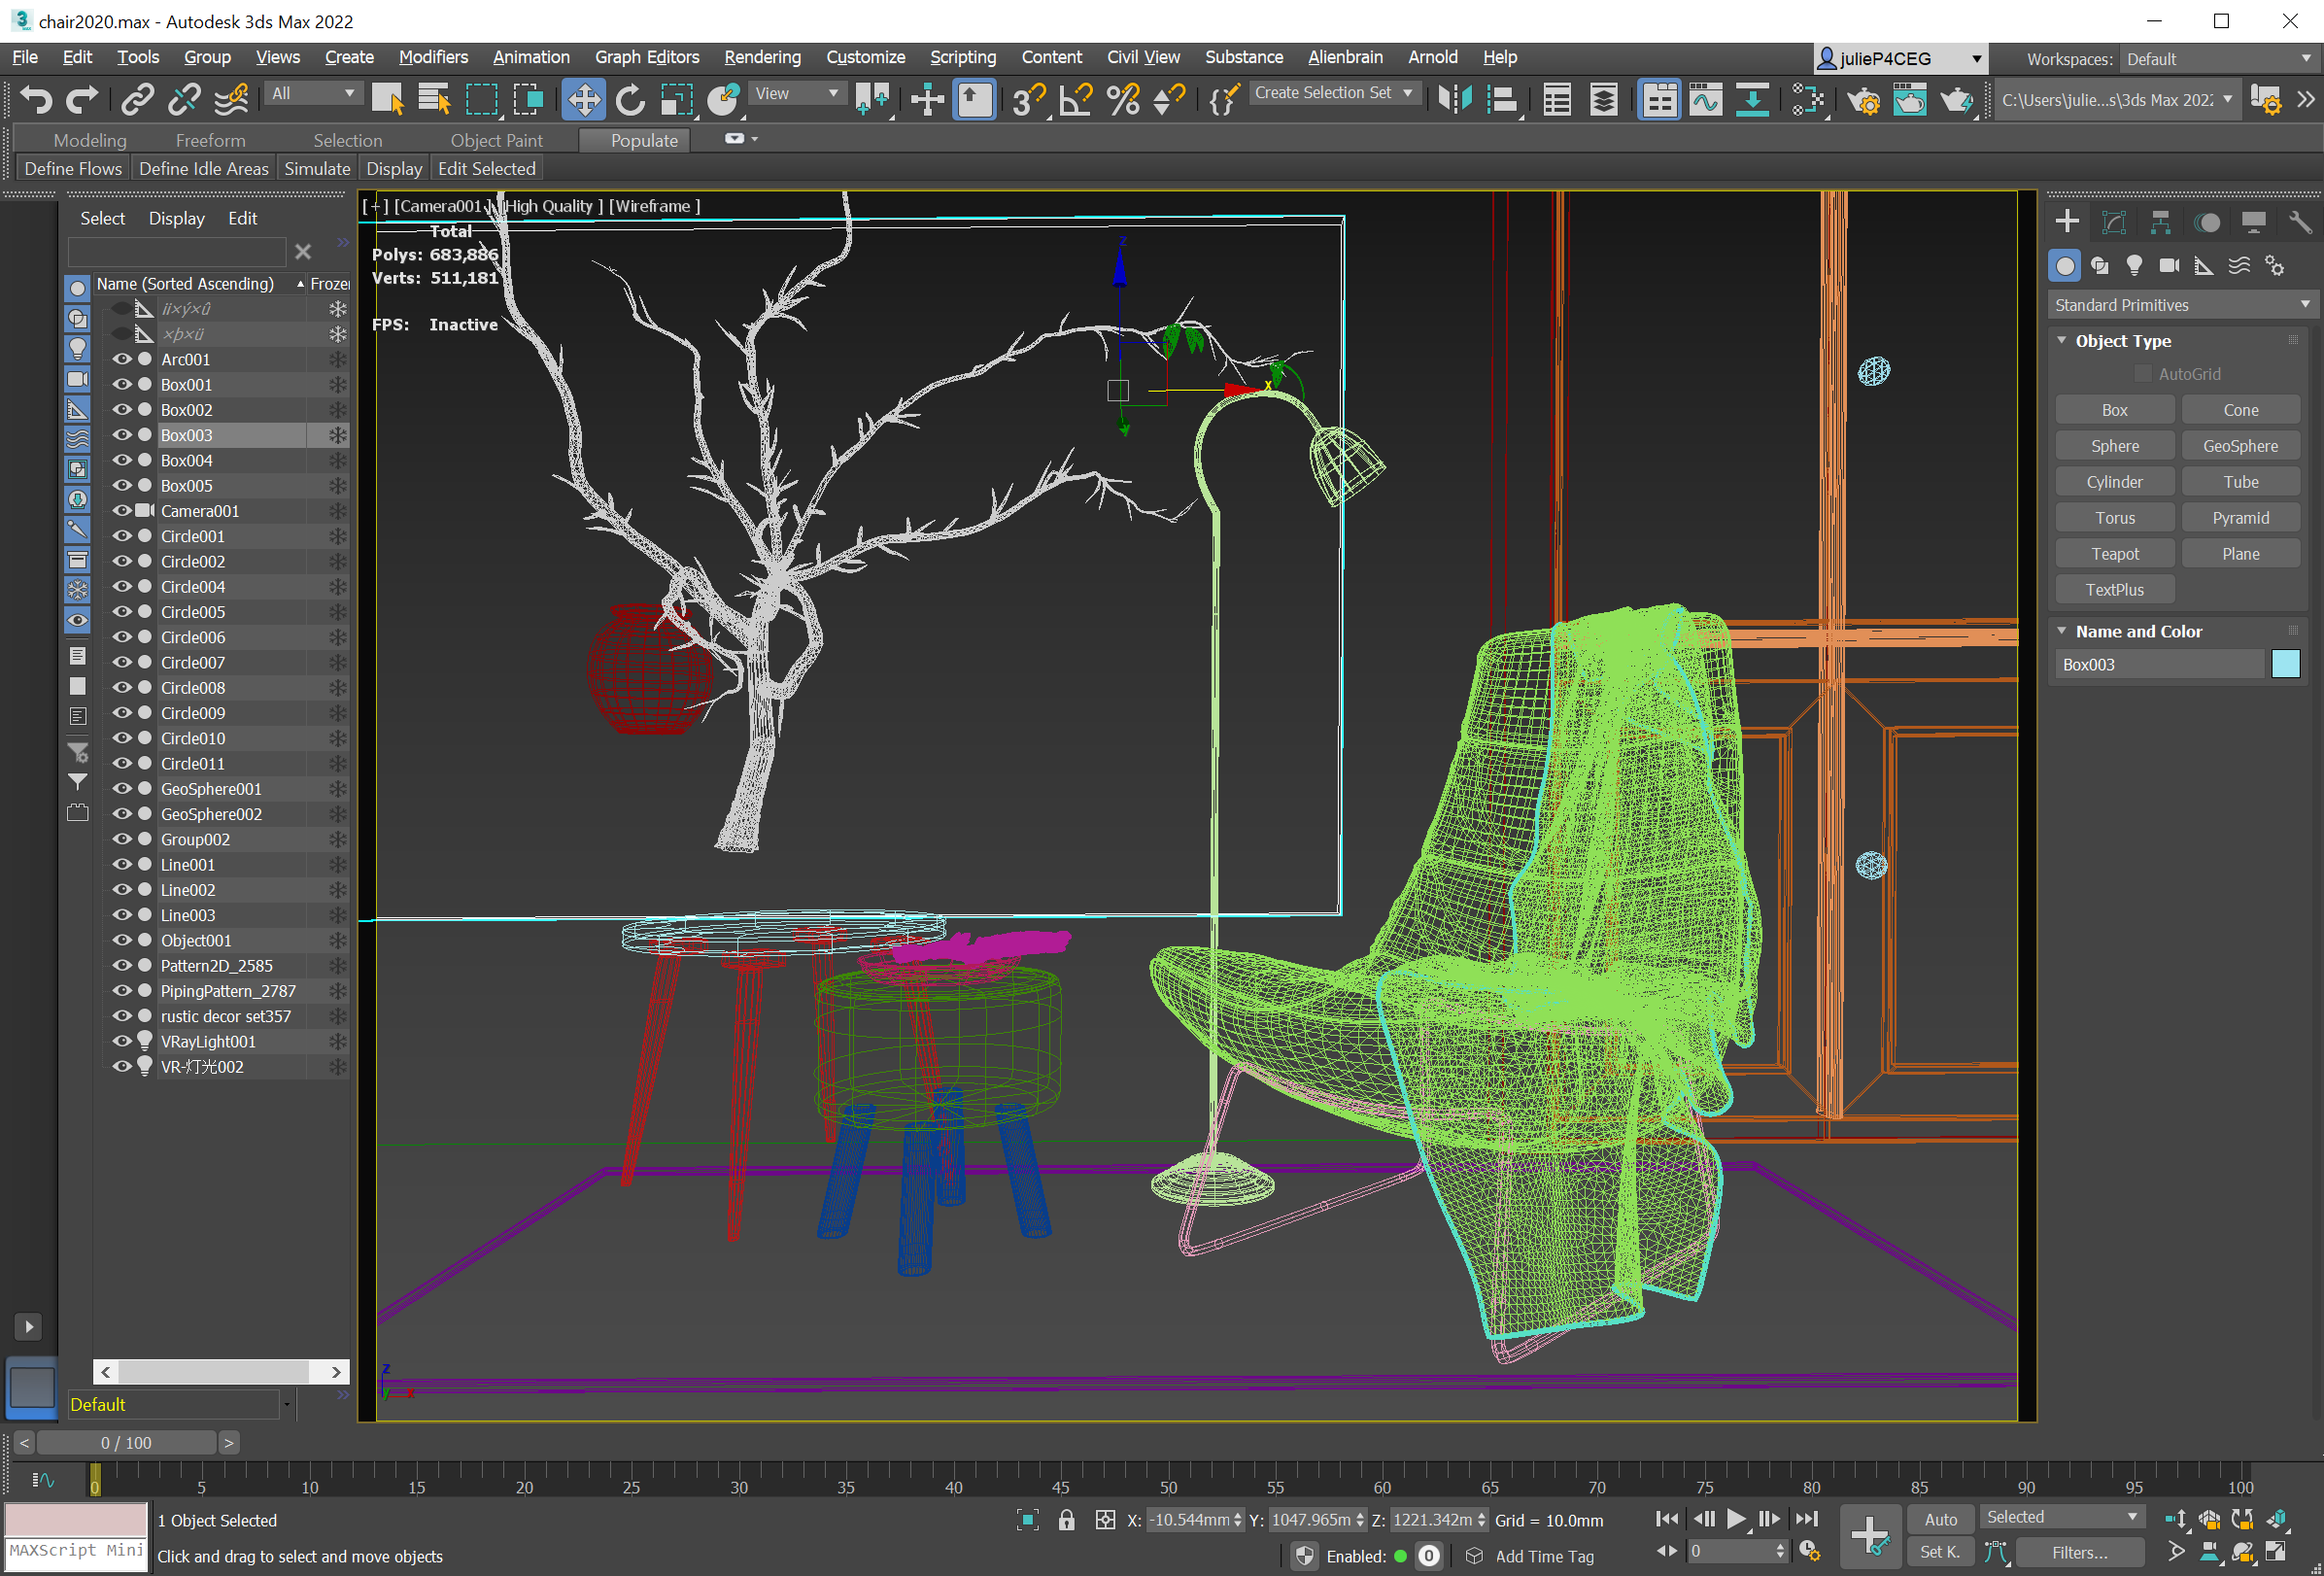
Alienbrain Version Control for 3dsMax
Alienbrain Installation for Maya
Ensure Autodesk Maya is installed on your client machine.
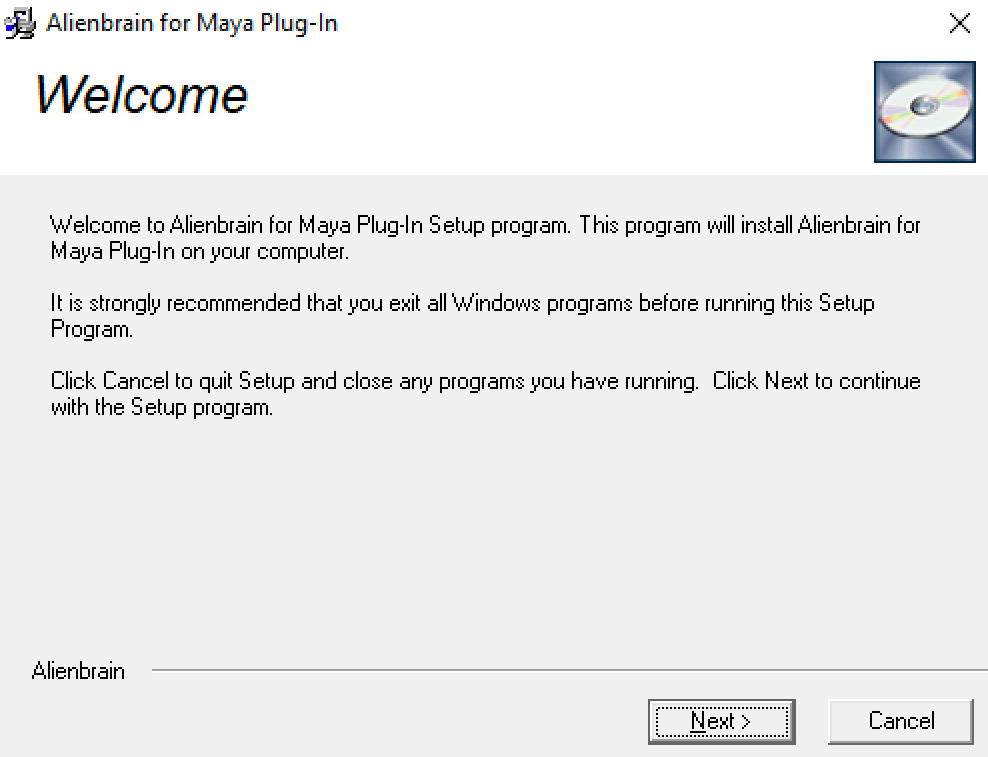
Run the alienbrainForMaya.exe file in \\SERVER_NAME\ab_Inst\Integrations, or the Installation\Integrations folder of the Alienbrain download. Click "Next", then accept the Automatic installation type.

Click "Next"
Click "Next"
Click "Next" to install Alienbrain for Maya, and "Finish" to Exit the Installer.

Click "Finish"

Click "Next"
When you start Maya for the first time after you have installed the Alienbrain for Maya integration, you need to load the plug-in with the Maya Plug-in Manager (Windows> Settings/Preferences> Plug-In Manager). Check the auto load option to automatically load the Alienbrain for Maya integration when Maya is started.
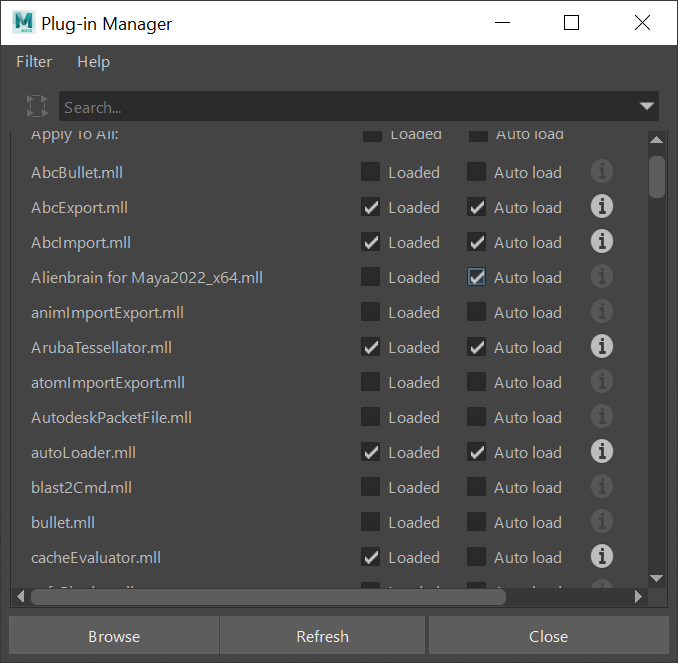
Maya Plugin Manager
You can now run Maya to explore the Alienbrain functionality within the tool. Alienbrain functionality within Maya is discussed in the Integration for Autodesk Maya section of the User Guide found in the Help Menu of the Alienbrain Client, or the Alienbrain Documentation folder in the Windows Start Menu.

Alienbrain Version Control for Maya
Alienbrain Installation for Unreal Engine
Ensure the Unreal Engine is installed on your client machine.
Run the alienbrainForUnreal.exe file in \\SERVER_NAME\ab_Inst\Integrations or the Installation\Integrations folder of the Alienbrain download. Click Next, to start the installation.

Click Next
Specify the Unreal Plug In Version required, and click "Next".
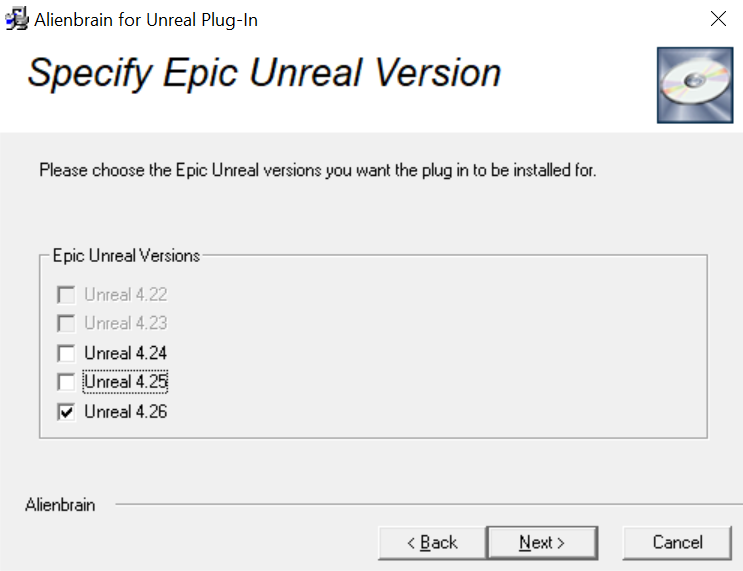
Click Next
Click "Finish" to complete the installation.

Click Next
Alienbrain Set-up for Unreal Engine
Once the plug-in has been installed, the following steps must be completed to ensure a seamless connection between Alienbrain and the Unreal Engine.
-
A project database needs to be created on the Alienbrain Server for each Unreal Project that requires version control. Launch the Alienbrain Administration Client and log in as described in the Connect to the Alienbrain Server section on the Quick Start - Administration page.
-
Create a new Alienbrain project on the Project Database menu of the Administration Client as described in the Add and Manage Projects section on the Alienbrain Administration page.
-
Once the Alienbrain project has been created, the Unreal Project files need to be added to the database. Launch the Alienbrain Client and follow the instructions in the Import Existing Files to an Alienbrain Project section on the Alienbrain Administration page.
-
The Unreal Project can now be opened in the Unreal Engine. Ensure the project file is opened from the drive mapped to the Working Folder which is typically on the Z:\ drive and set up during the Alienbrain Client configuration.
-
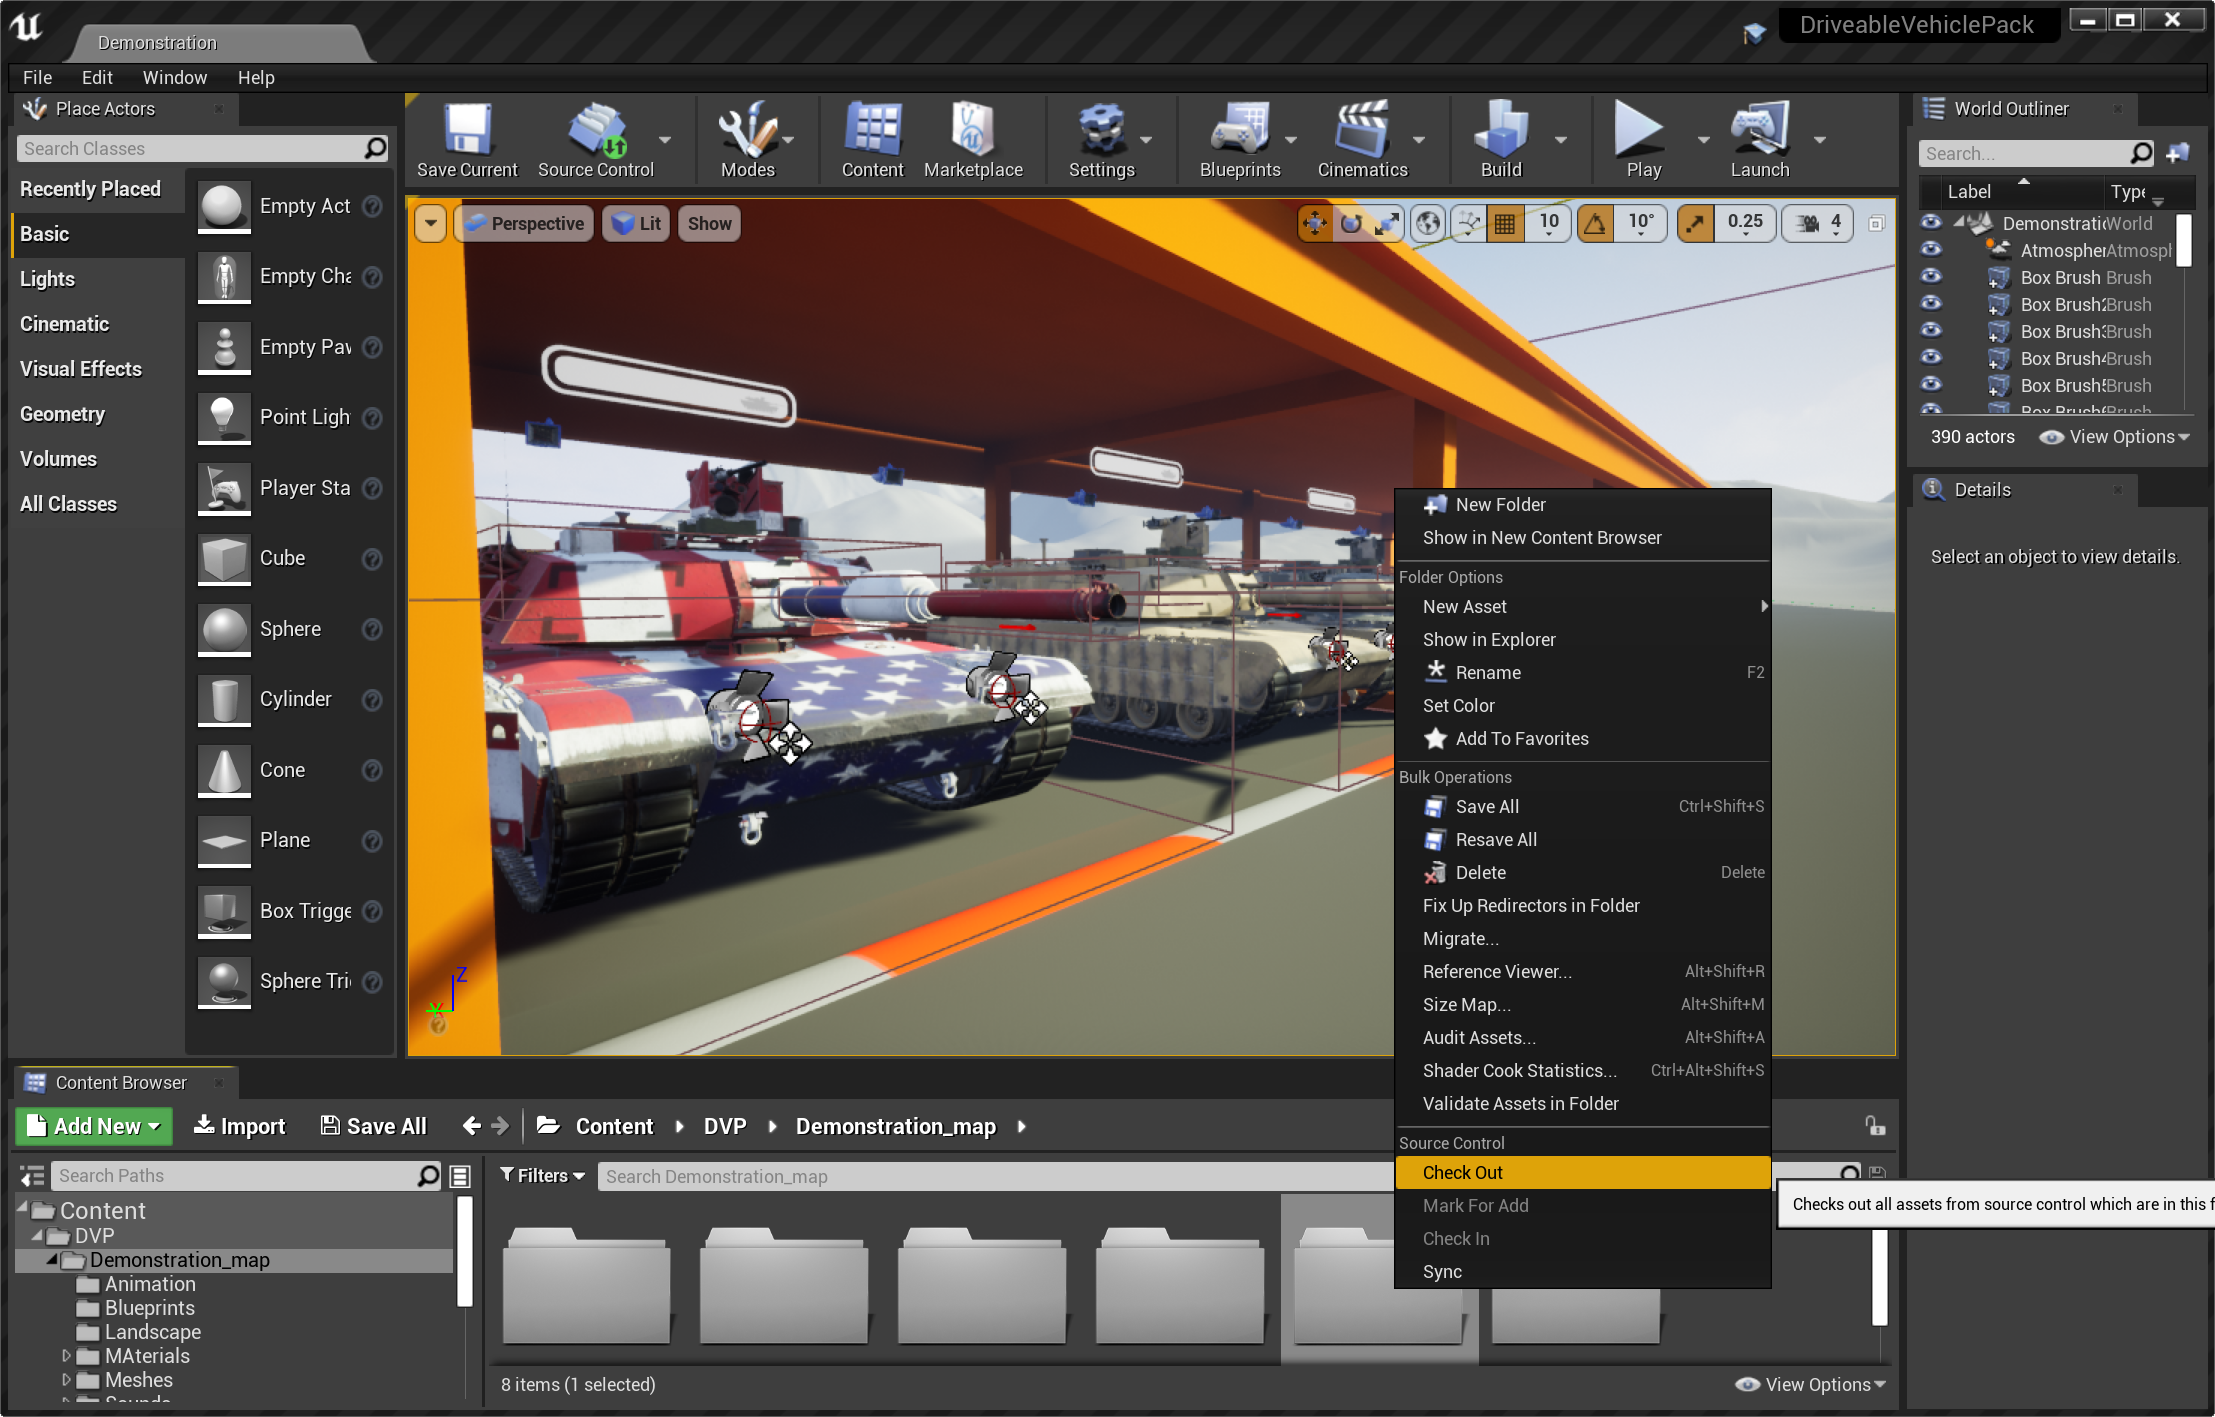
Click on the Source Control icon in the menu bar and select Connect to Source Control from the menu.

Version Control for Unreal Engine
Select Alienbrain from the Provider drop down menu, and click on Accept Settings.

Select Alienbrain from the dropdown menu.
The Source Control icon will now display as connected, and Alienbrain functionality can be accessed from the menu displayed when right clicking on the assets. Alienbrain functionality within the Unreal Engine is discussed in the Integration for Epic Unreal Editor section of the User Guide found in the Help Menu of the Alienbrain Client, or the Alienbrain Documentation folder in the Windows Start Menu.
Alienbrain functionality within the Unreal Engine
Important Note: Changes made to assets within the Unreal Engine are not tracked in Alienbrain unless they are specifically checked out. This default behaviour can however be changed to automatically check out the files as soon as you start using them. Select Editor Preferences from the Unreal Edit Menu, choose the Loading & Saving section, and select "Automatically Checkout on Asset Modification" from the Source Control tab.
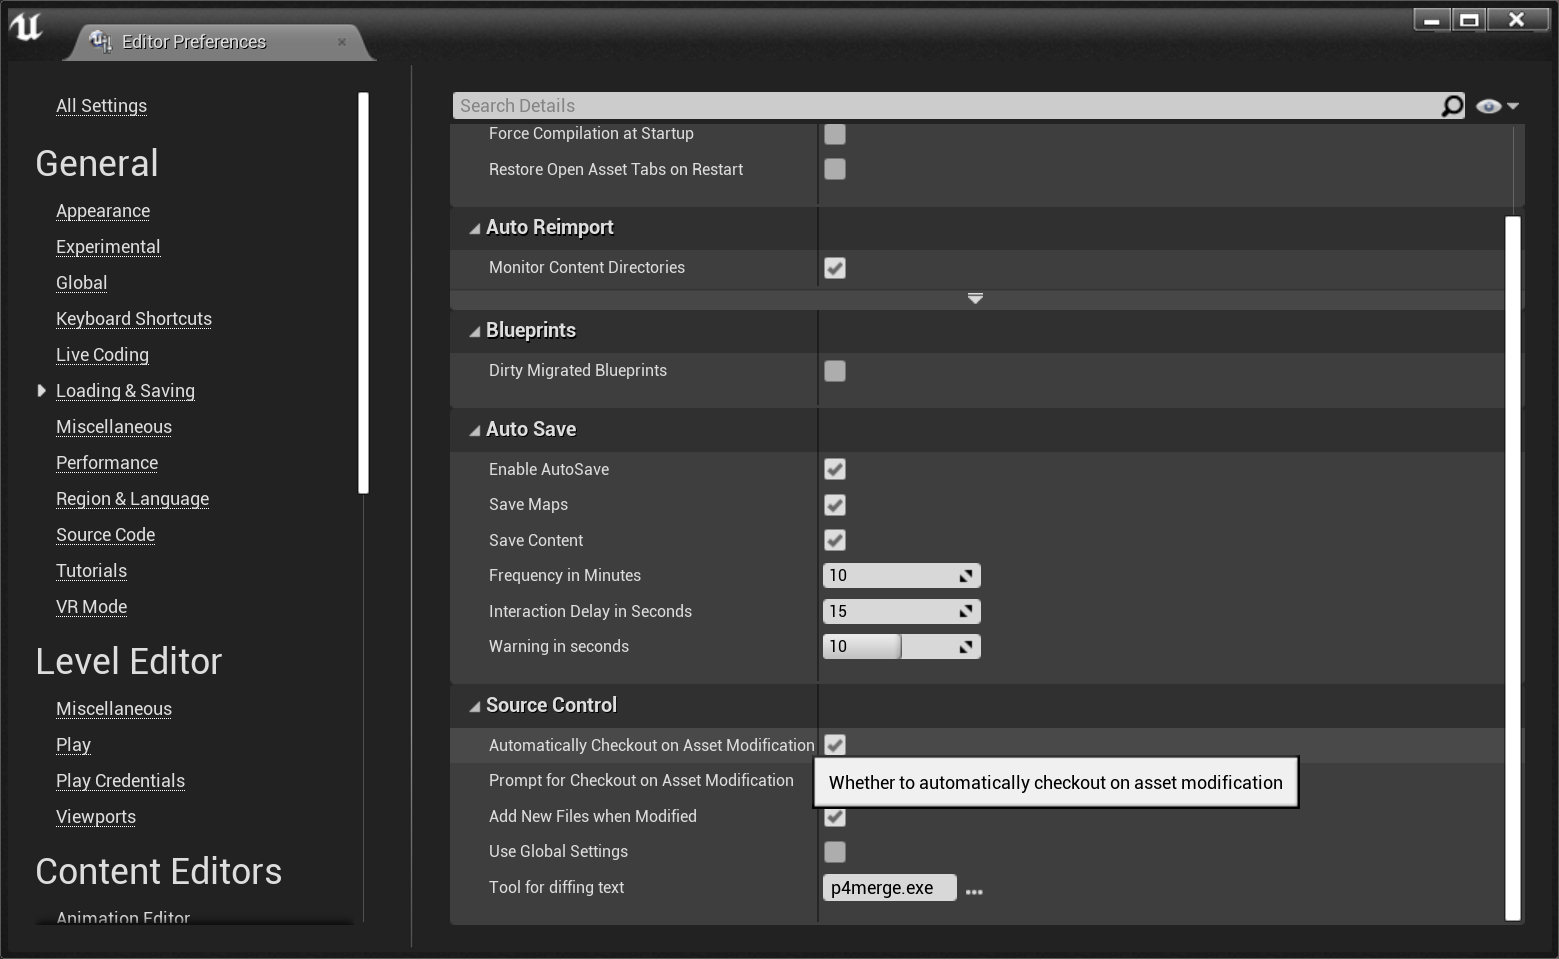
Setting for Automatic Checkout in the Unreal Engine
Alienbrain Installation for Photoshop
Ensure Photoshop is installed on your client machine.
Run the alienbrainForPhotoshop.exe file in \\SERVER_NAME\ab_Inst\Integrations or the Installation\Integrations folder of the Alienbrain download. Click Next, to start the installation.

Click Next
Specify the Photoshop Version required, and click Next.

Click Next
Click Next to install Alienbrain for Photoshop, and Finish to exit the installer.
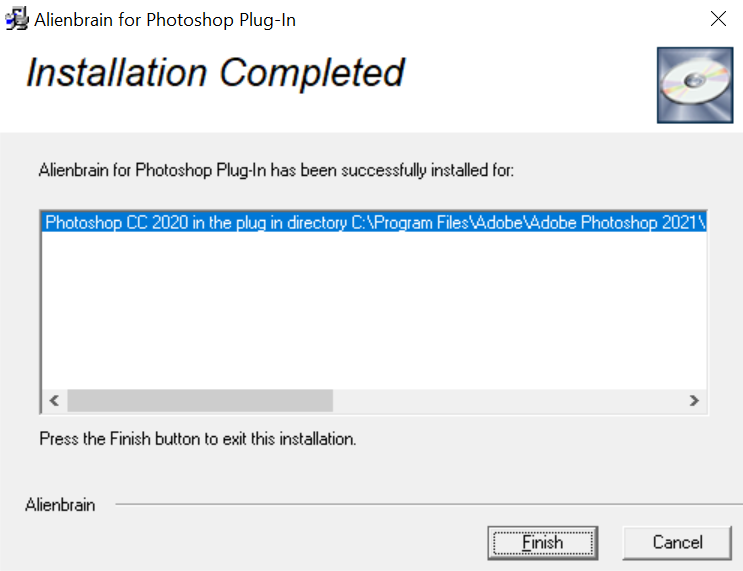
Click "Finish"
Click "Next"
You can now run Photoshop to explore the Alienbrain functionality within the tool. Alienbrain functionality within Photoshop is discussed in the Integration for Adobe Photoshop section of the User Guide found in the Help Menu of the Alienbrain Client, or the Alienbrain Documentation folder in the Windows Start Menu.
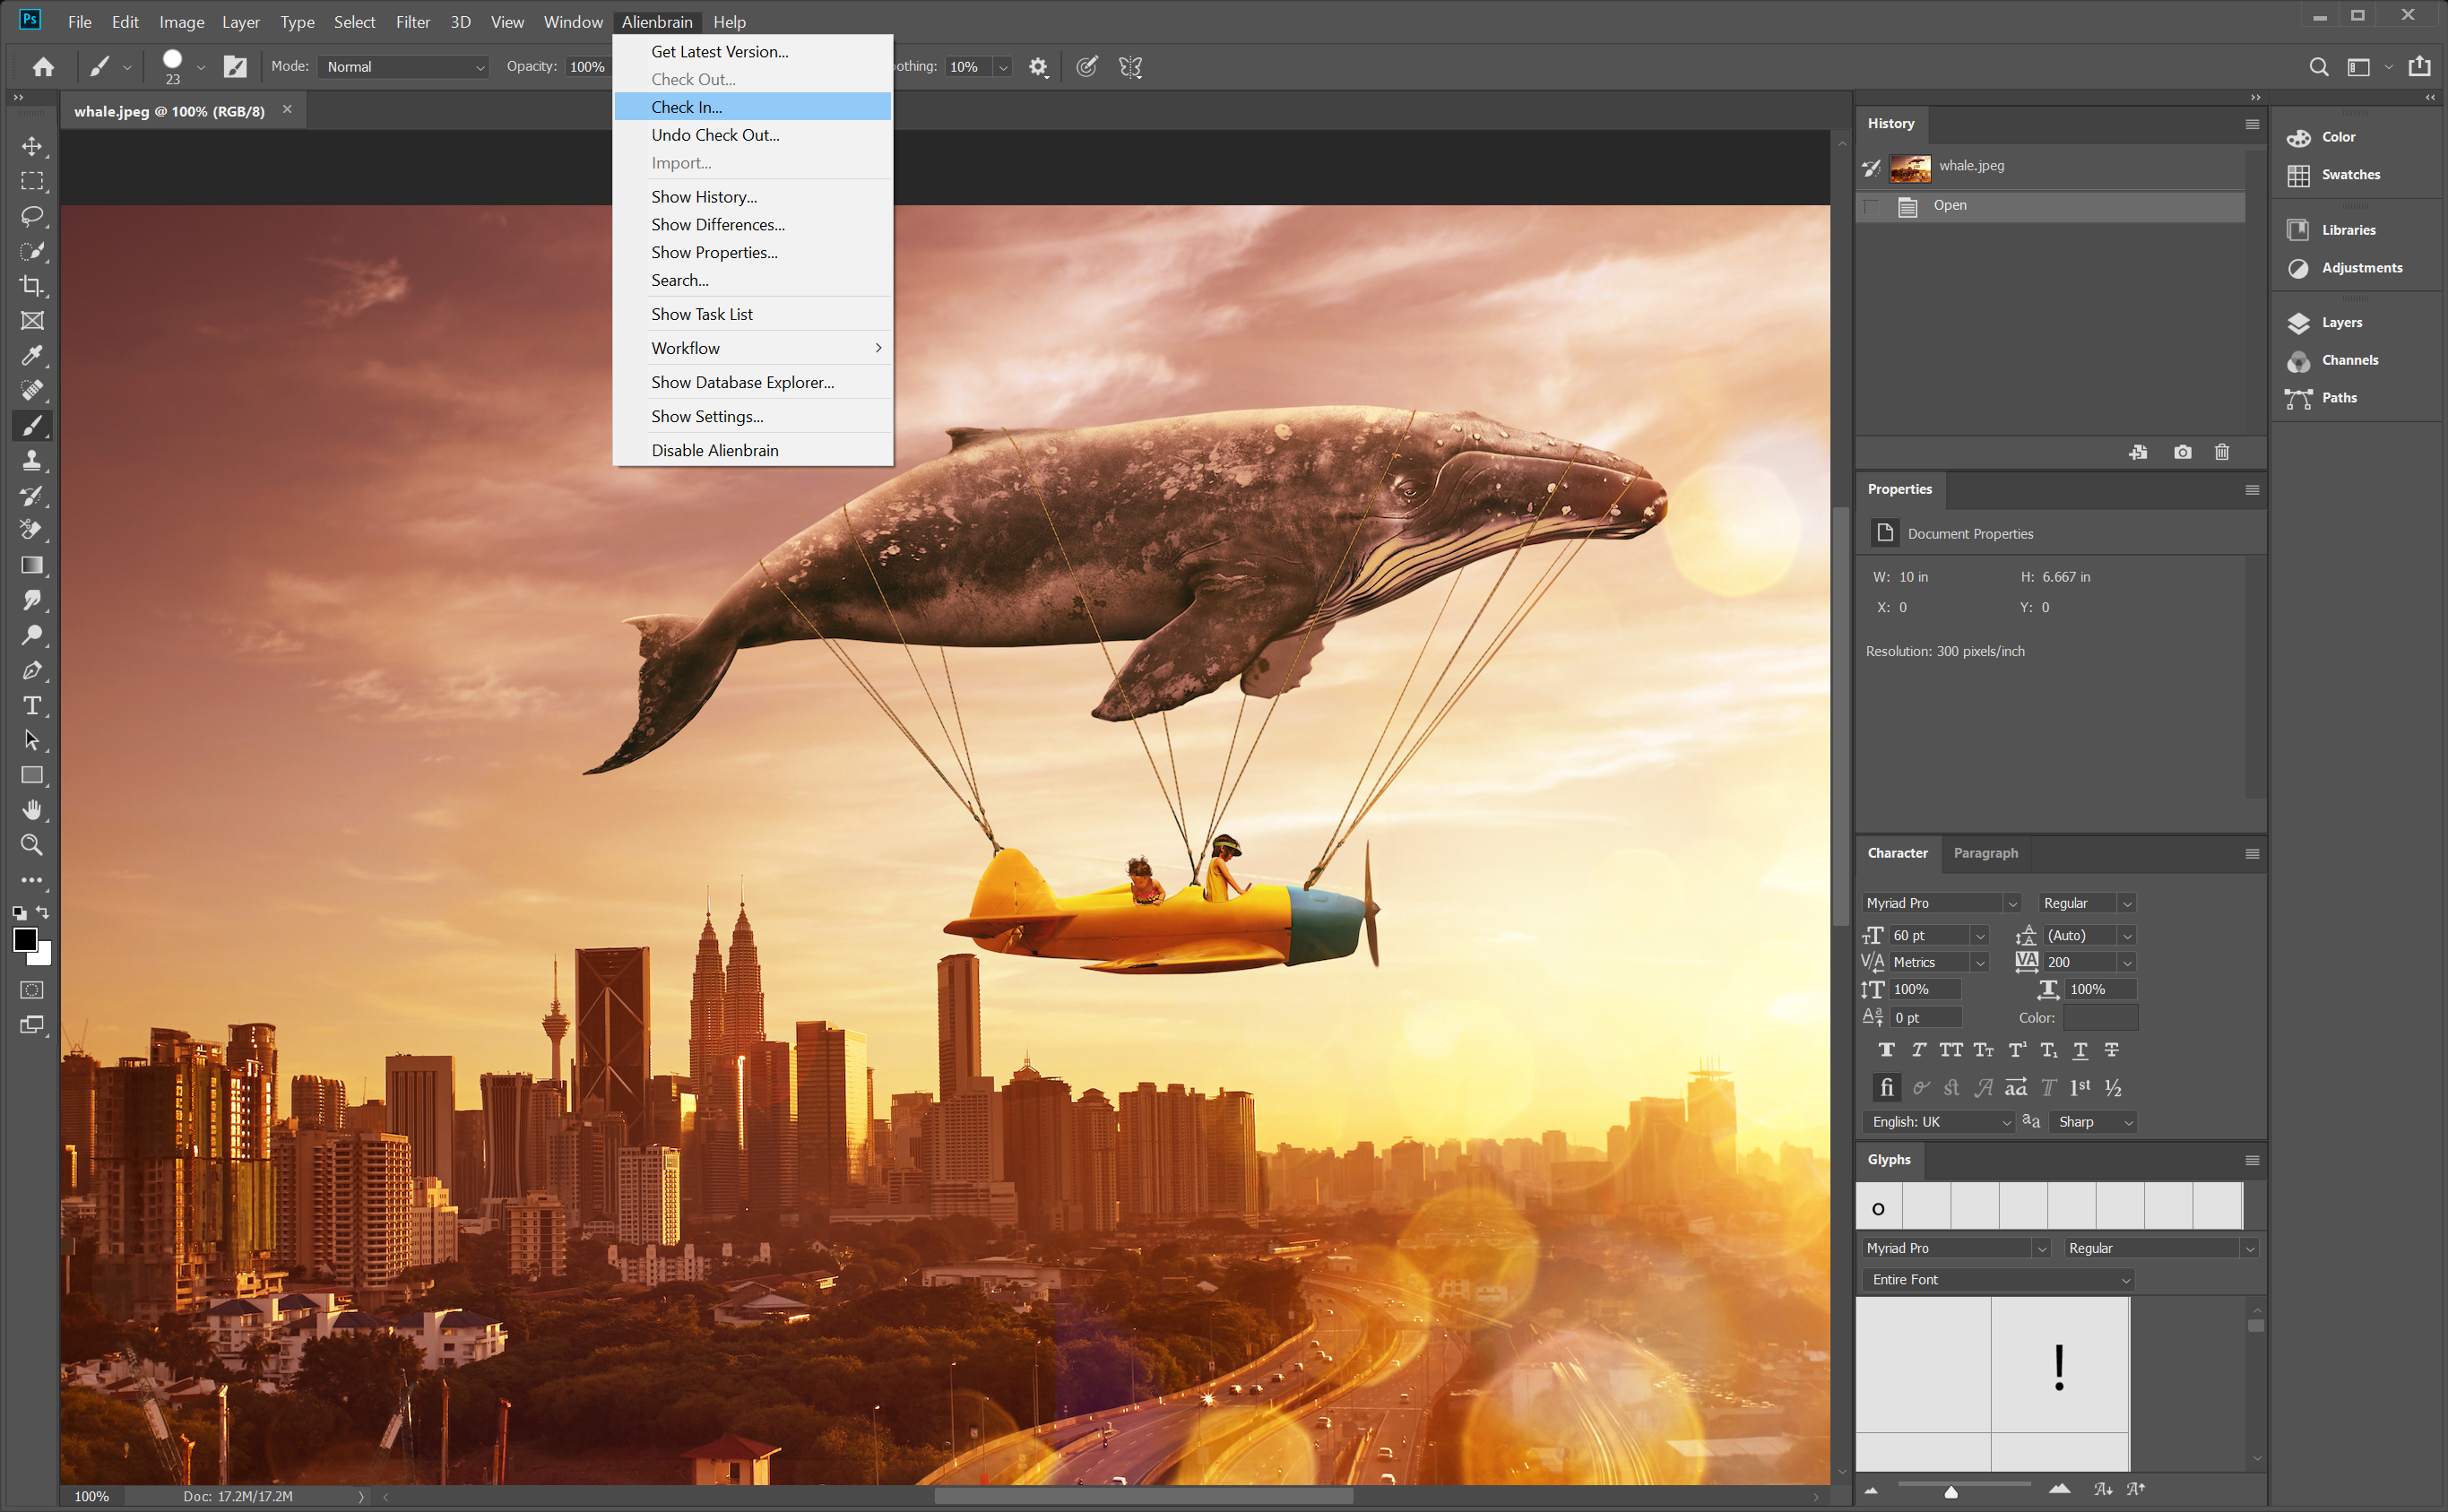
Alienbrain Version Control for Photoshop
Alienbrain Installation for Visual Studio
Ensure Visual Studio is installed on your client machine.
Run the alienbrainVisualStudio.exe file in \\SERVER_NAME\ab_Inst\Integrations or the Installation\Integrations folder of the Alienbrain download. Click Next, and Next again to install Alienbrain for Visual Studio.
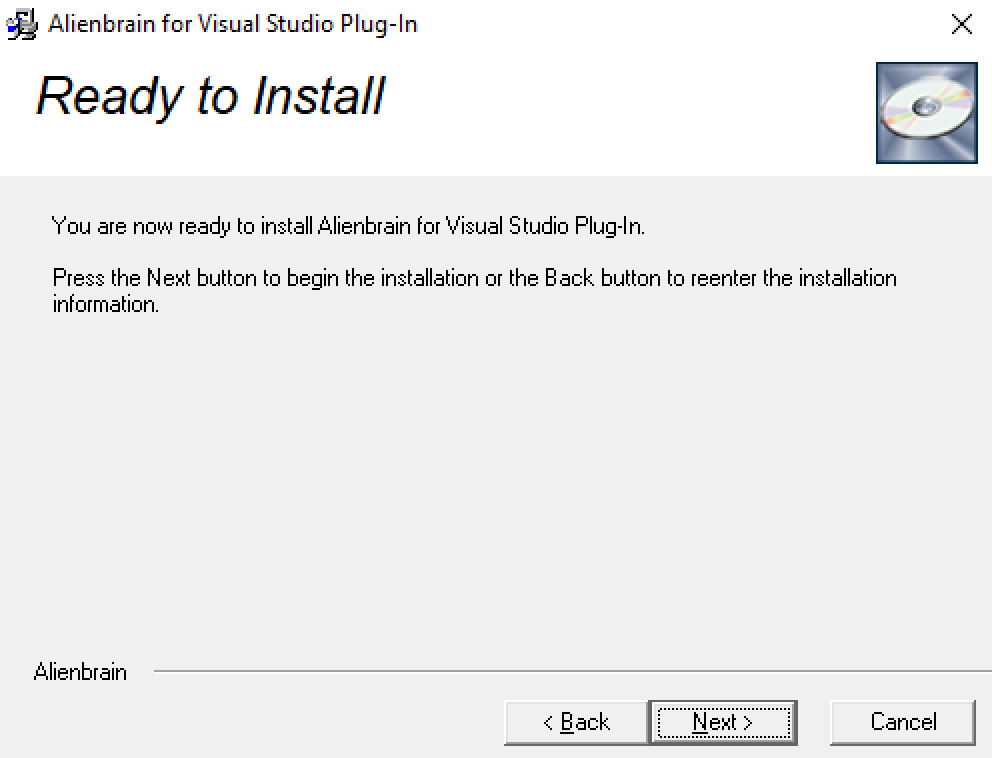
Click "Next"

Click "Next"
When the installation is complete, click "Finish".

Click "Finish" to complete.
You can now run Visual Studio to explore the Alienbrain functionality within the tool. To enable Alienbrain within Visual Studio you must first select the Source Control setting in the Options, then choose to add the solution to Source Control.
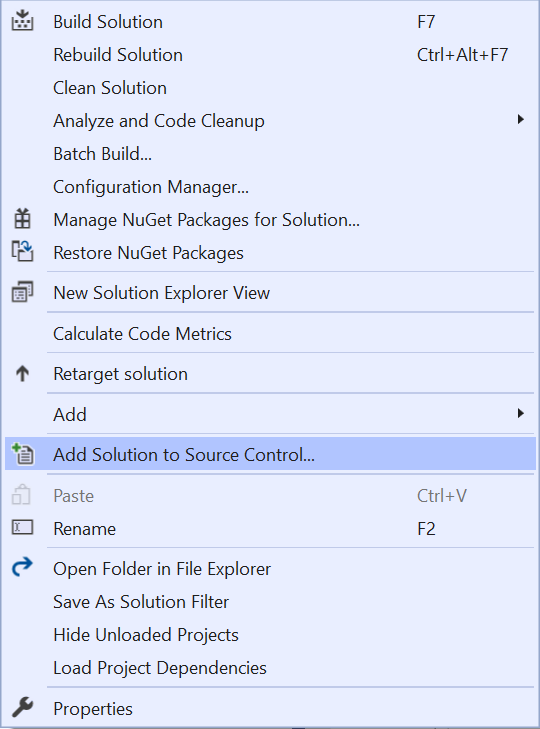
Right-Click the Solution and Add to Source Control

Select Alienbrain in the Source Control Settings
Next:
Use the Administration tools to Manage Projects and Users
ADMINISTRATION